
Set up a team: invite people, give them roles and share projects
Updated 2026-11-07
A menu, a spa price list and a poster for the pool bar are rarely made by one person. The chef changes the dishes, the marketing lead owns the look, the general manager signs it off. A Ridvay team puts them in one place: shared projects, roles that say who can do what, and designs that stay with the team when someone leaves.
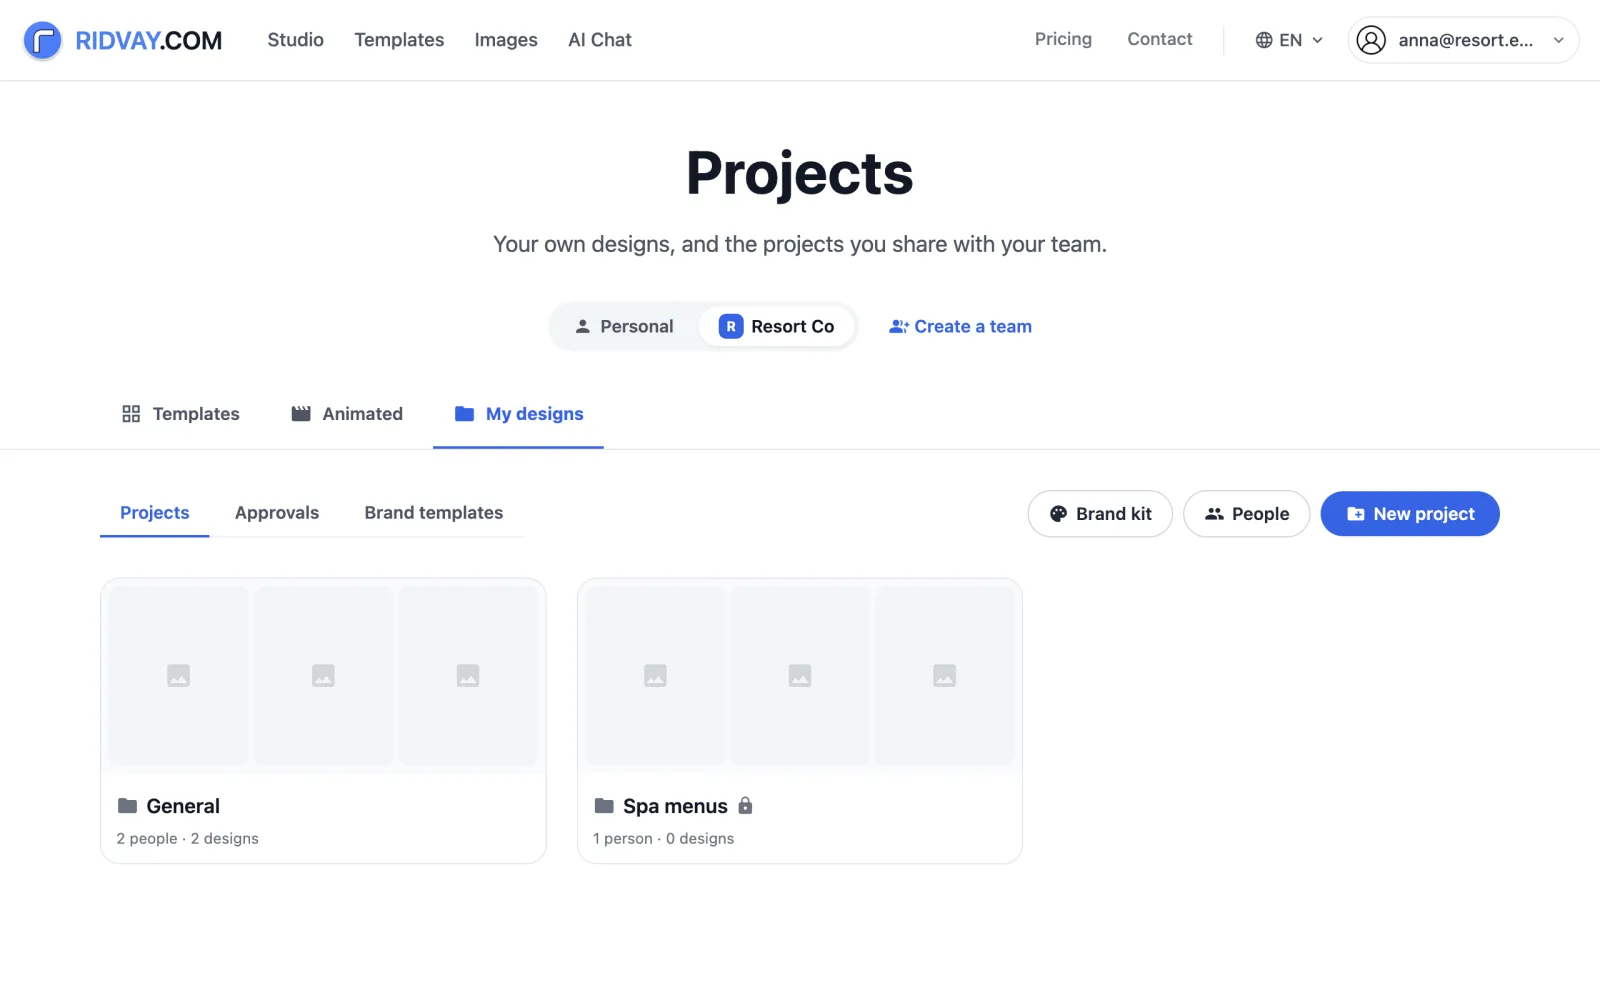
Your own designs stay yours. A team is a second space beside Personal, with its own projects, brand kit and brand templates. Teams is in early access: if you don’t see “Create a team” on your Projects page yet, contact us and we’ll switch it on for your account.
How to do it
Create the team
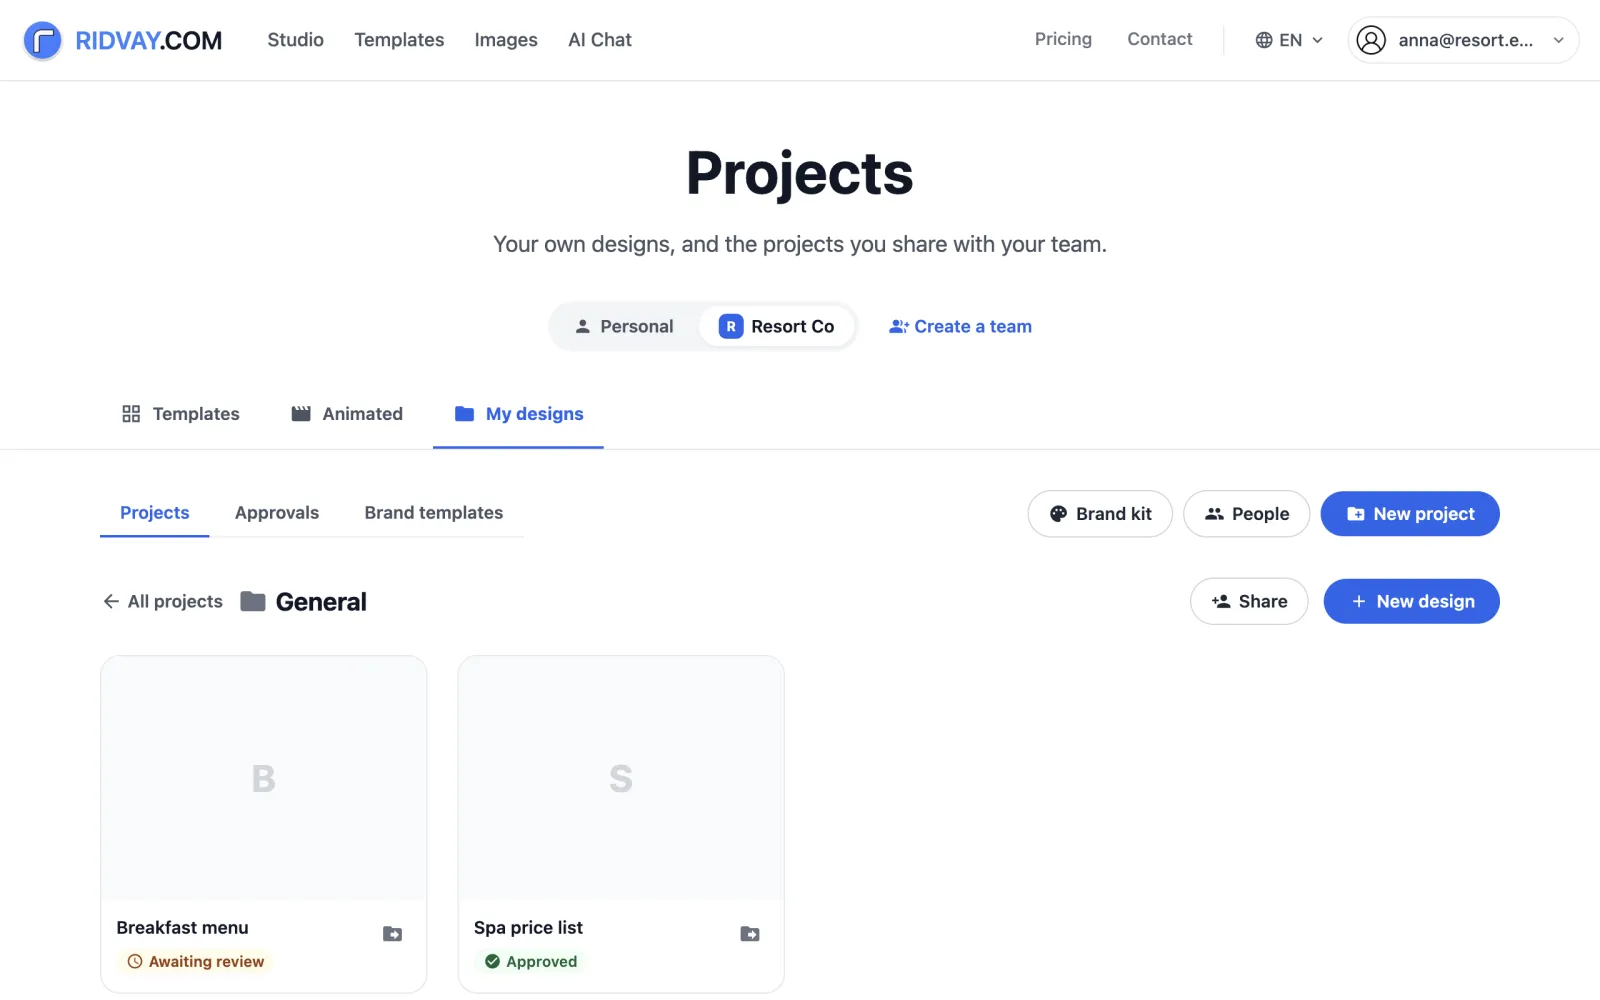
Open Studio’s My designs tab (with Teams switched on, the page is titled Projects) and choose “Create a team” beside Personal. Give it a name such as “Resort Co marketing” and click “Create team”. You become the team’s Owner, and the team starts with one project called General, which is always open to the team. A member whose only role is Brand designer gets no access to a project’s designs from that role: they need Designer, Approver or Viewer as well, or you add them to the project with an access level.
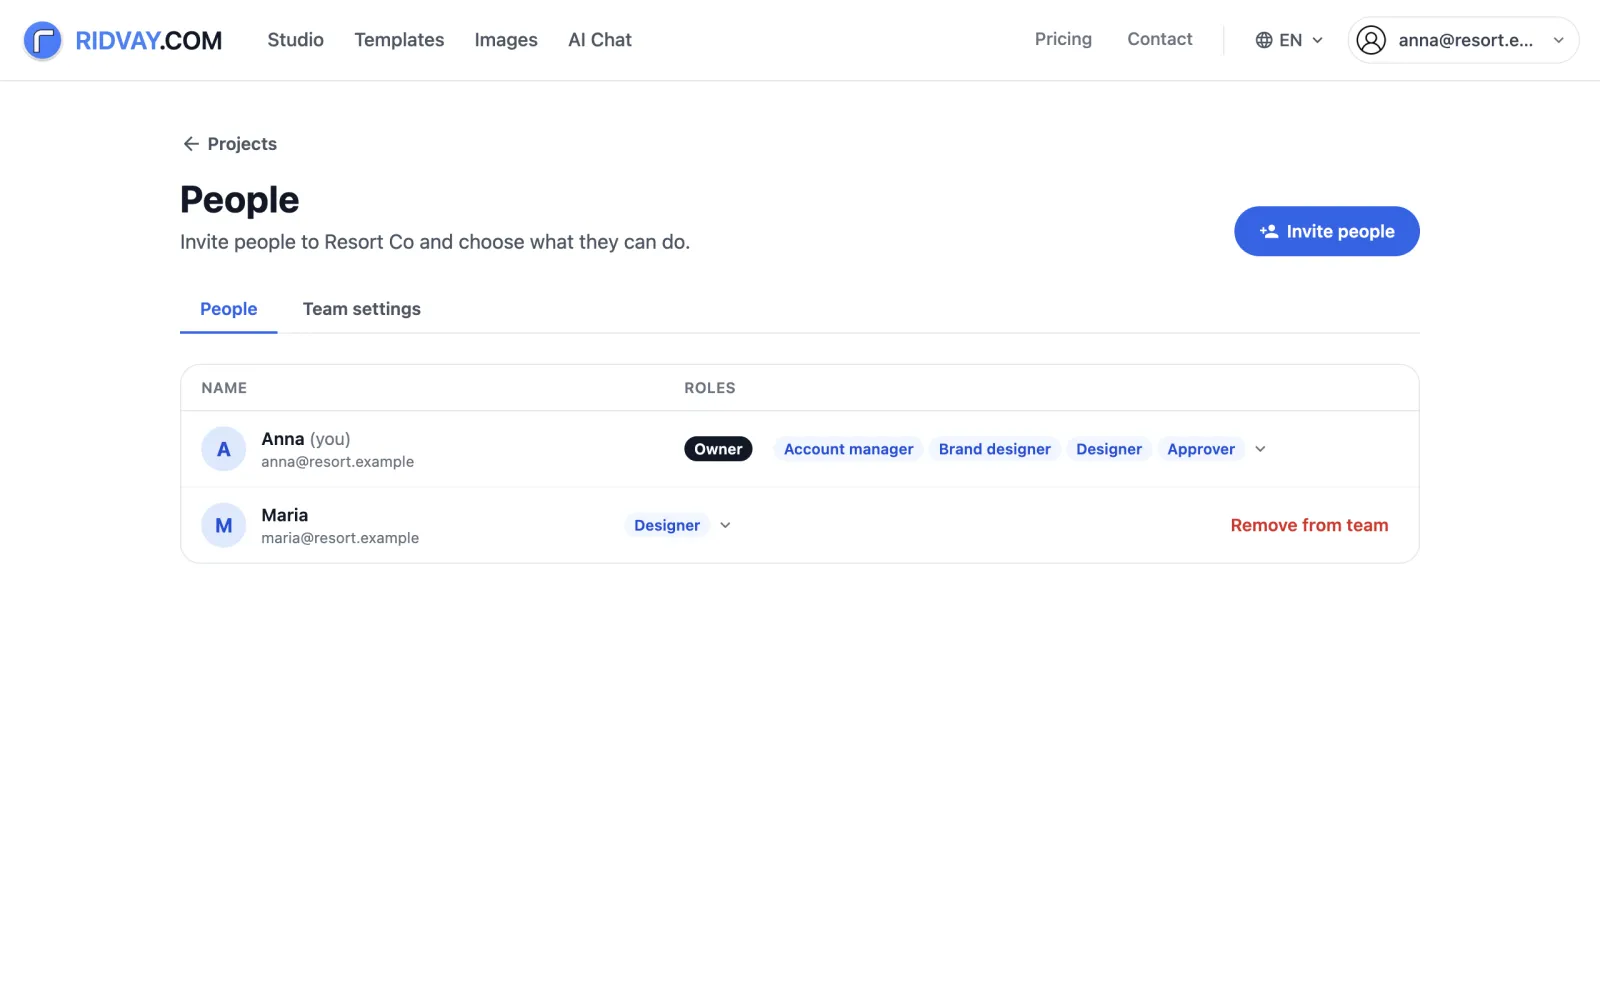
Open People and read the roles
In the team’s space click People. The list shows each person and their roles. A person can hold several. Account manager invites people, changes roles and settings, and manages every project; only the Owner can give or take away this role. Brand designer edits the team’s brand kit, fonts and brand templates, but does not open designs without another role such as Designer or a level added on a project. Designer creates projects and edits designs. Approver can be asked to review designs. Viewer can open and view designs.
Invite people
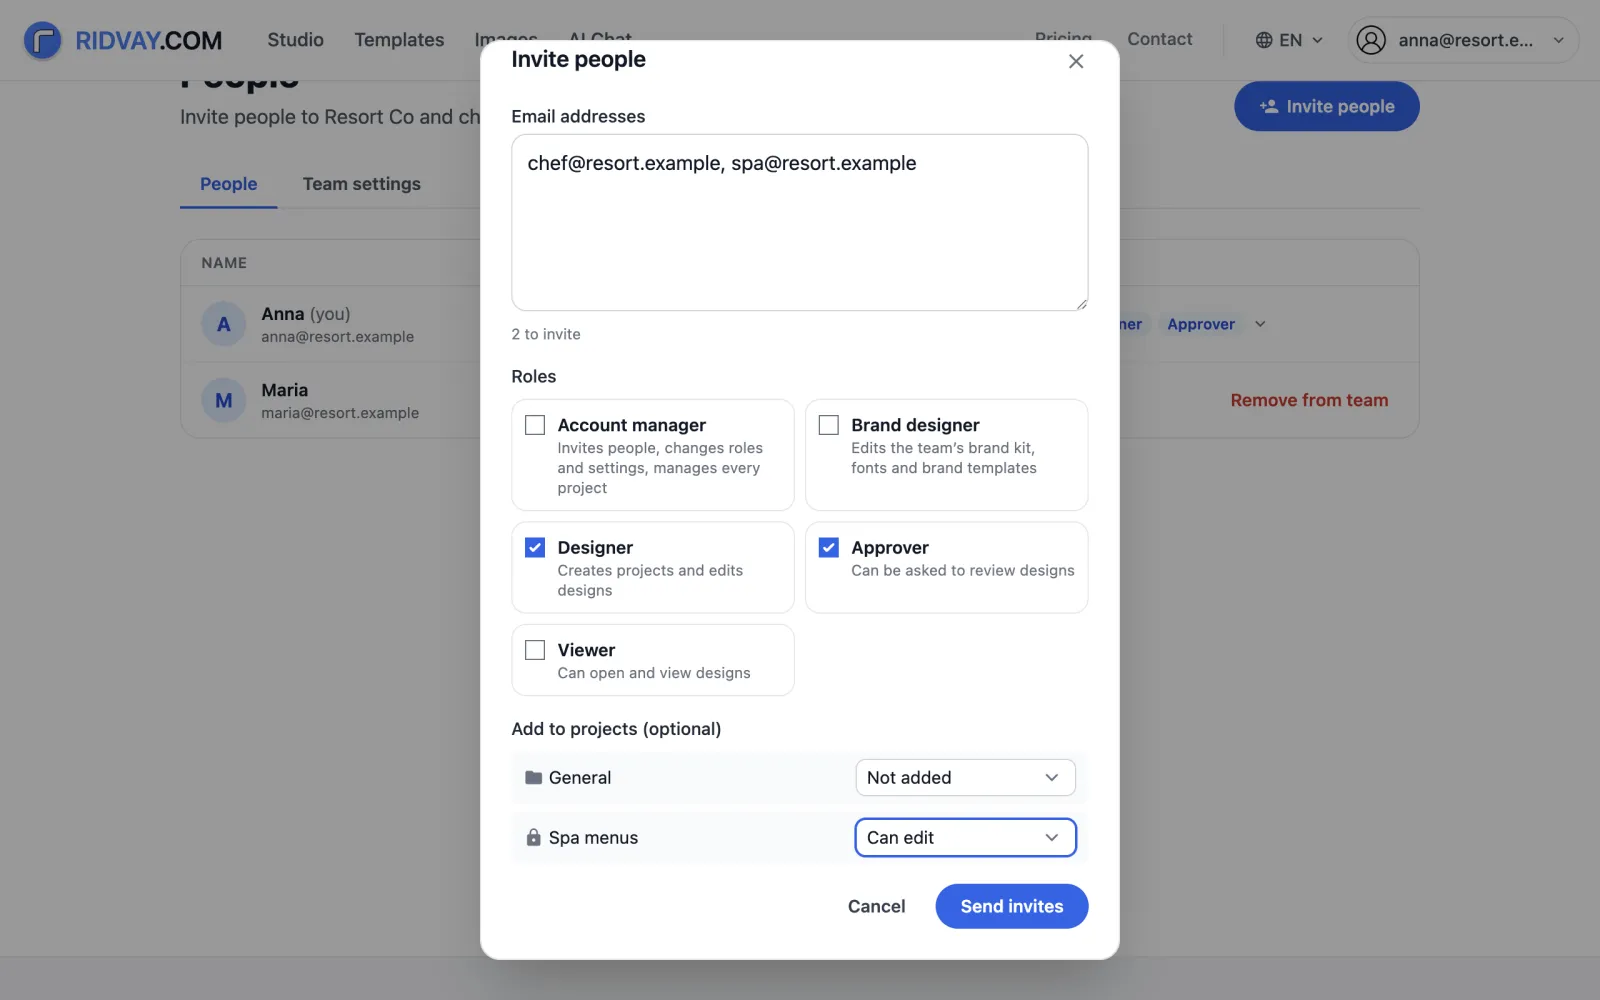
Click “Invite people”, paste or type email addresses separated by commas or new lines (up to 50 at a time), and tick the roles. Designer is ticked for you. Under “Add to projects (optional)” choose an access level for each project, or leave it at “Not added”. The roles and levels apply to everyone in that batch, so invite people who need different access in separate batches, or change them later: roles on the People page, project levels in the project’s Share dialog. “Send invites” emails everyone a link. Afterwards “Copy link” appears next to each address if you would rather send the link yourself. Each link expires after 30 days.
What the invited person sees
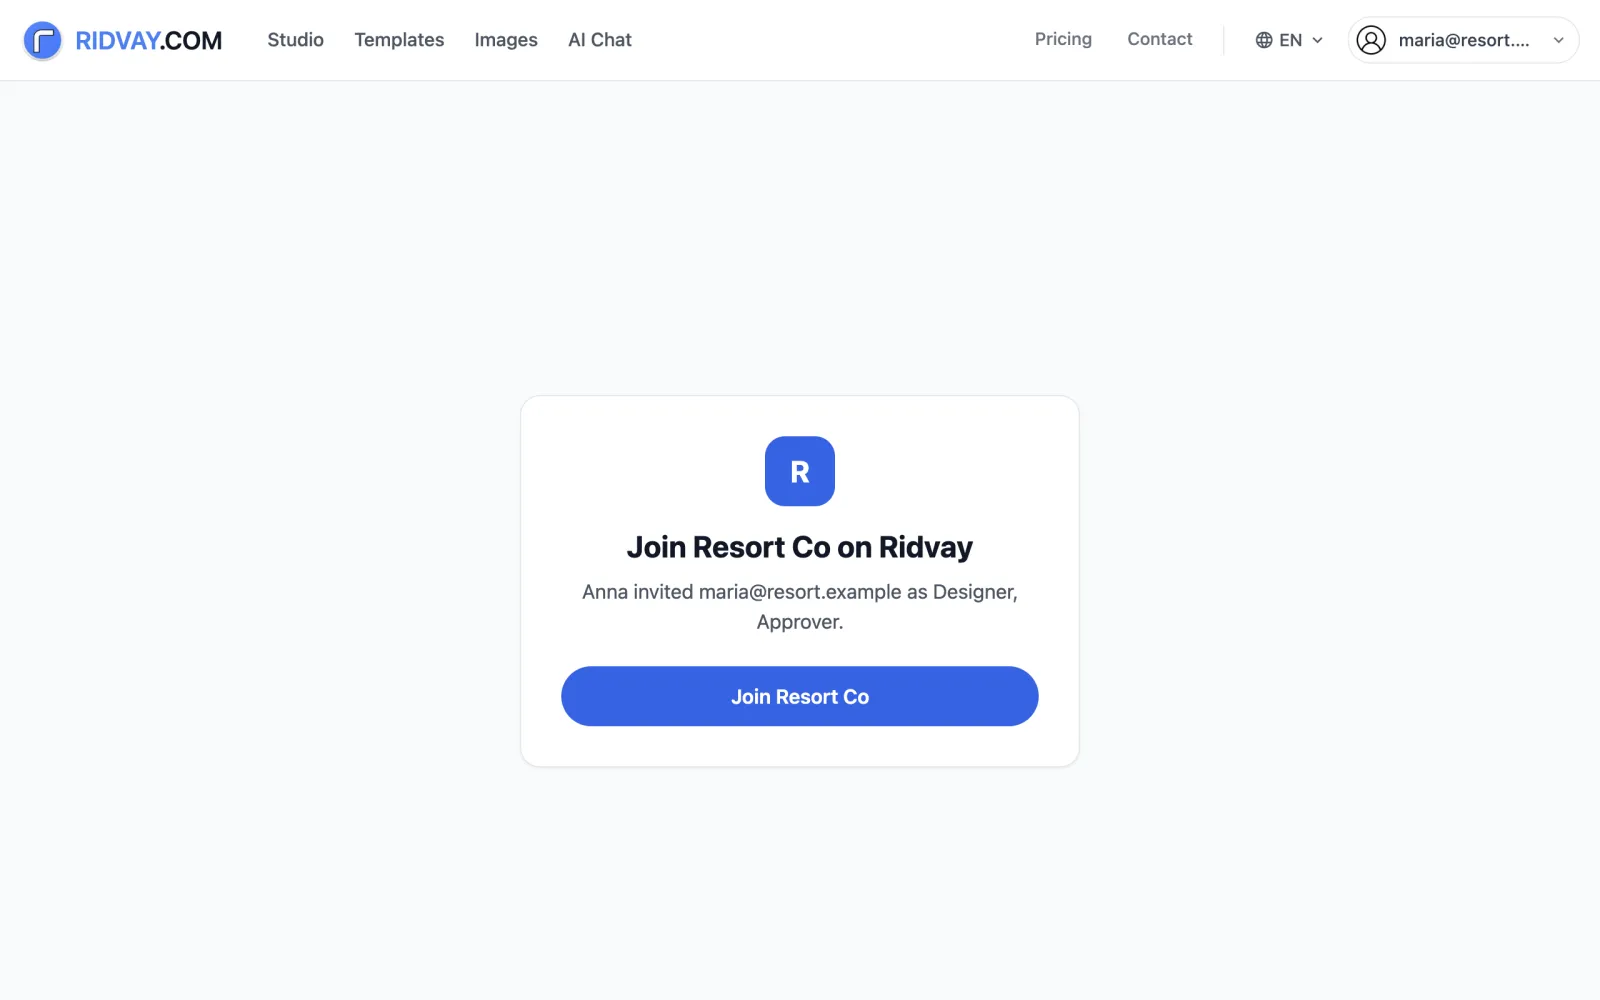
They open the link, sign in or create an account with the email address you invited (the address must be verified, and Studio asks them to verify it first if not), and join the team: signing in on this page joins at once, and someone already signed in with that email clicks “Join Resort Co”. If they are signed in with a different email, Studio says so and offers “Switch account”. The Owner and Account managers see pending invites on the People page. An invite stays listed until it is used or revoked, and reads “Expired” once its 30 days are up. From the list you can use “Resend”, “Copy link” or “Revoke”. “Resend” emails a new link that replaces the earlier one and lasts 30 days again; “Copy link” does the same when this page no longer holds the original link.
Open a project
Click a project card to see its designs; those sent for approval show their status. “New design” starts a design in that project and appears only if you have “Can edit” or “Can manage” there. “Share” shows who has access: only someone with “Can manage” can change it, everyone else sees the list read-only. A project is either open to “Everyone in the team” or “Only people you add”. Account managers and the owner can still see a private project. Per person you can give “Can manage”, “Can edit”, “Can edit text and photos” or “Can view”. On an open project a person’s role already gives a level (a Designer gets “Can edit”), and the level you pick can raise it but not lower it. On an “Only people you add” project the level you pick is the only one they have, so use that to give “Can edit text and photos”. Account managers and the owner always manage every project.
Work in the editor
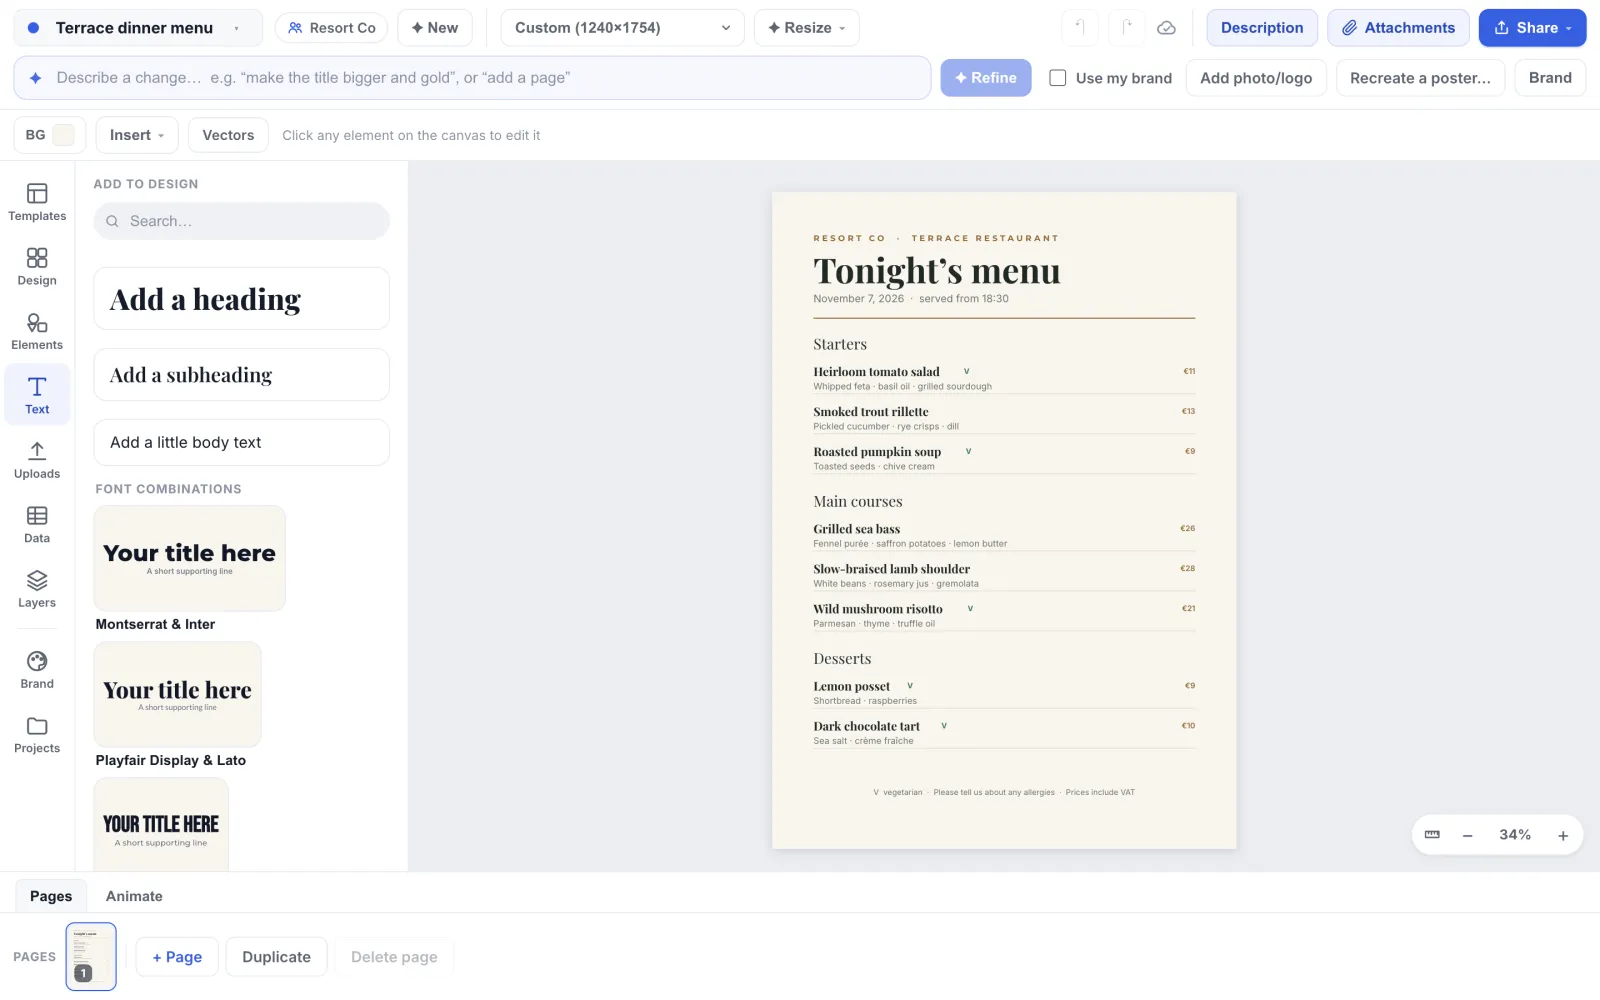
A team design opens in the editor with the team’s name beside the title, so you always know whether you are in a personal or a team design. Everyone in the project sees the same saved design, and the editor’s Brand kit and Templates panels use the team’s brand kit and brand templates.
Tips
- Keep a private project for anything not ready to show, such as next season’s menu, and move the design into General when it is.
- To lock the layout for the chef, put the menu in an “Only people you add” project and give the chef “Can edit text and photos” there. Then they can change dishes and prices and cannot move the layout. On a project that is open to “Everyone in the team”, a Designer keeps “Can edit” whatever level you pick. See the brand templates guide.
- Give each person the smallest role that does the job. Most people are Designers; one or two Account managers is plenty.
- The Owner can hand the team to someone else (they stay on as an Account manager), or delete it, from Team settings. Deleting needs the team’s name typed to confirm and removes all its projects, designs and brand kits for everyone; it can’t be undone.
Frequently asked questions
- Does everyone in the team see all my designs?
- No. Your Personal designs are never visible to the team. Only designs saved in a team project are shared, and only with the people who have access to that project.
- Who pays for AI generations in a team?
- Generations made in a team project count toward the team Owner’s plan, not toward each member’s. Check your plan before you invite a large group to generate.
- Can I be in more than one team?
- Yes. The Personal space and each team show as tabs at the top of the Projects page, and you switch between them with one click.
- What happens to a design when a person leaves the team?
- Designs in team projects stay with the team. Remove the person on the People page and they lose access to every project at once.
- Why can’t I see “Create a team”?
- Teams is in early access: if you don’t see “Create a team” on your Projects page yet, contact us and we’ll switch it on for your account.
Try it on your own design
Teams is in early access. Contact us to have it switched on for your account.